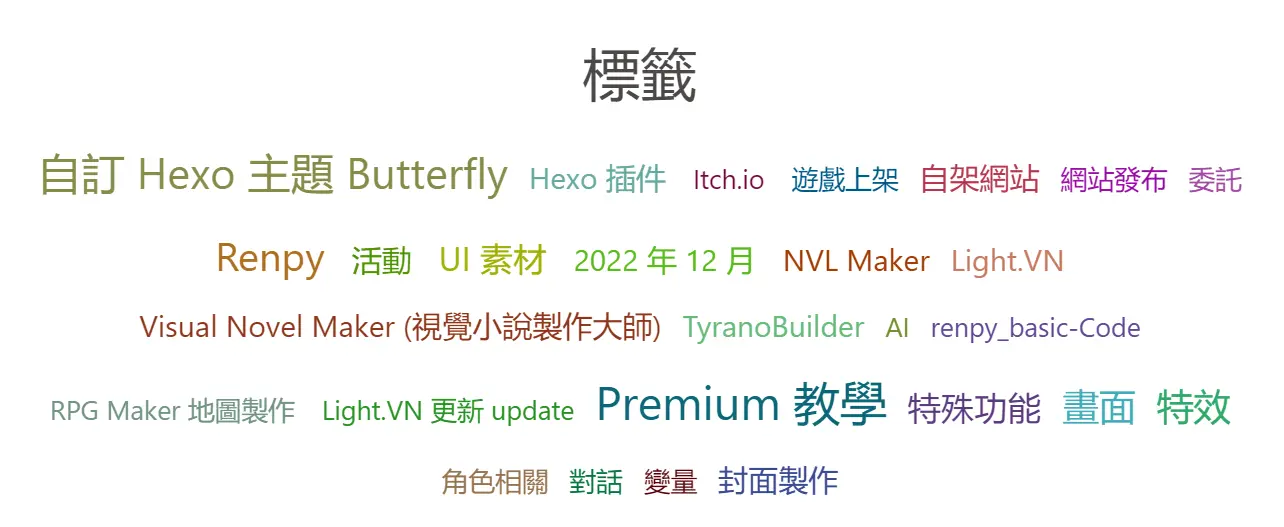
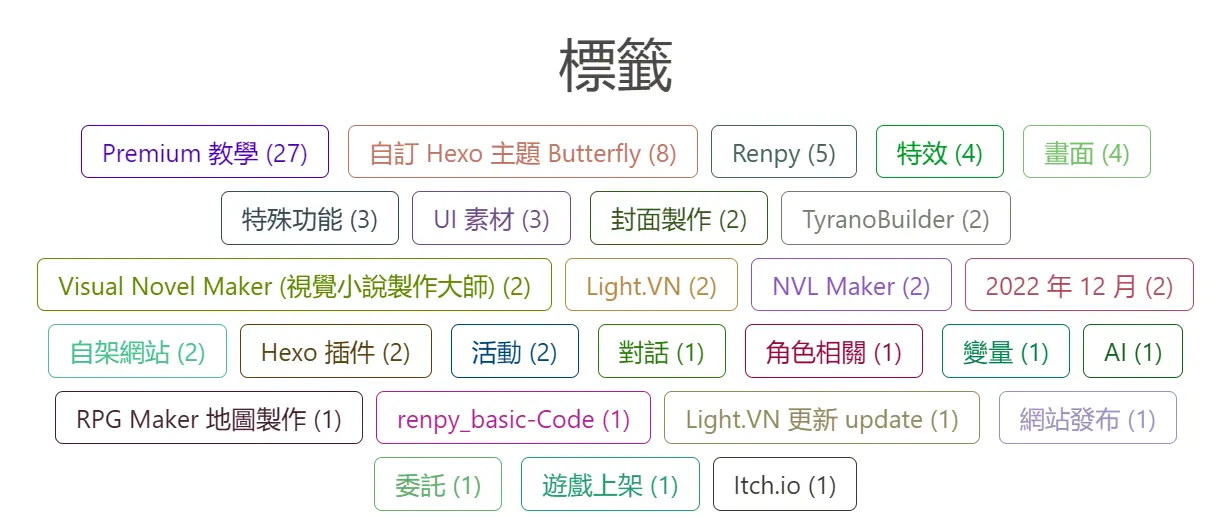
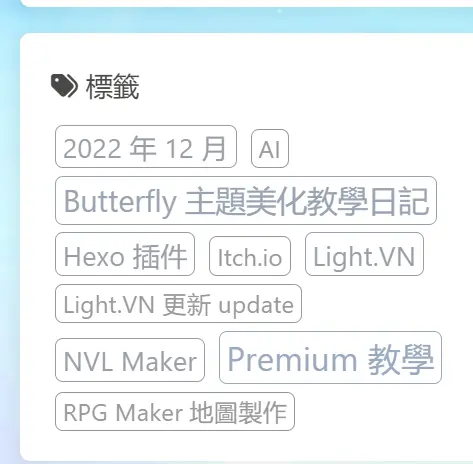
安安今天這篇文章是關於修改 Butterfly 的默認標籤雲外觀
修改後畫面預覽 修改 page.js 路徑:
1 2 3 4 5 6 7 8 9 10 11 12 13 14 15 16 17 18 19 20 21 22 23 24 25 26 27 28 29 30 31 32 33 34 35 36 37 38 39 40 41 42 43 44 45 46 47 48 49 50 51 52 53 54 55 56 57 58 59 60 61 62 63 64 65 66 67 68 69 70 71 72 73 74 75 76 77 78 79 80 81 82 83 84 85 86 87 88 89 90 91 92 93 94 95 96 97 'use strict' const { stripHTML, escapeHTML, prettyUrls } = require ('hexo-util' )const crypto = require ('crypto' )hexo.extend .helper .register ('page_description' , function ( const { config, page } = this let description = page.description || page.content || page.title || config.description if (description) { description = escapeHTML(stripHTML (description).substring (0 , 150 ) .trim () ).replace (/\n/g , ' ' ) return description } }) hexo.extend .helper .register ('cloudTags' , function (options = {} ) { const env = this let source = options.source const limit = options.limit let result = '' if (limit > 0 ) { source = source.limit (limit) } source.forEach (tag => const color = 'rgb(' + Math .floor (Math .random () * 201 ) + ', ' + Math .floor (Math .random () * 201 ) + ', ' + Math .floor (Math .random () * 201 ) + ')' let style = ` color: ${color} ` result += `<a href="${env.url_for(tag.path)} " style="${style} ">${tag.name} </a>` }) return result }) hexo.extend .helper .register ('cloudTags' , function (options = {} ) { const env = this let source = options.source const limit = options.limit source = source.sort ('length' ).reverse () let result = '' if (limit > 0 ) source = source.limit (limit) source.forEach (tag => const color = 'rgb(' + Math .floor (Math .random () * 201 ) + ', ' + Math .floor (Math .random () * 201 ) + ', ' + Math .floor (Math .random () * 201 ) + ')' result += `<a href="${env.url_for(tag.path)} " style="color: ${color} ">${tag.name} (${tag.length} )</a>` }) return result }) hexo.extend .helper .register ('urlNoIndex' , function (url = null ) { return prettyUrls (url || this .url , { trailing_index : false , trailing_html : false }) }) hexo.extend .helper .register ('md5' , function (path ) { return crypto.createHash ('md5' ).update (decodeURI (this .url_for (path))).digest ('hex' ) }) hexo.extend .helper .register ('injectHtml' , function (data ) { let result = '' if (!data) return '' for (let i = 0 ; i < data.length ; i++) { result += data[i] } return result }) hexo.extend .helper .register ('findArchivesTitle' , function (page, menu, date ) { if (page.year ) { const dateStr = page.month ? `${page.year} -${page.month} ` : `${page.year} ` const date_format = page.month ? hexo.theme .config .aside .card_archives .format : 'YYYY' return date (dateStr, date_format) } const defaultTitle = this ._p ('page.archives' ) if (!menu) return defaultTitle const loop = (m ) => { for (const key in m) { if (typeof m[key] === 'object' ) { loop (m[key]) } if (/\/archives\// .test (m[key])) { return key } } } return loop (menu) || defaultTitle })
新增 css 你可以將以下的代碼貼上任意以插入的 css 檔案裡面 或是建立新的 css 檔案並插入你的主題的 _config.yml 檔案 插入位置:
範例:
先在 themes\butterfly\source\css\ 資料夾下添加名為 myTag.css 的檔案 然後返回_config.yml 並新增 <link rel="stylesheet" href="/css/myTag.css"> 1 2 3 4 5 6 inject: head: - <link rel="stylesheet" href="/css/myTag.css">
CSS樣式:
1 2 3 4 5 6 7 8 9 10 11 12 13 14 15 16 #aside-content .card-tag-cloud a { border : 1px solid; line-height : 1.5 ; border-radius : 6px ; margin : 3px ; padding : 0 5px ; } .tag-cloud-list a { border : 1px solid; line-height : 1.5 ; border-radius : 6px ; padding : 5px 15px ; font-size : 1.2rem ; margin : 5px ; }
Hexo主題Butterfly Tag標籤雲美化&修改教學【Butterfly 美化教學#3】
)


